
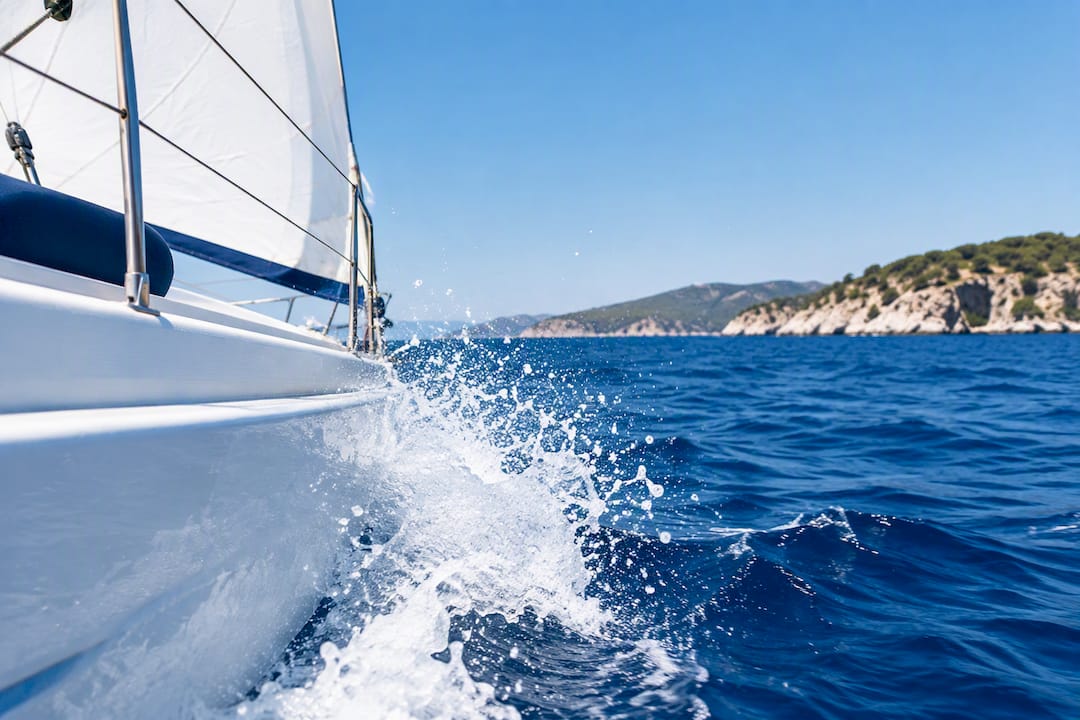
The single most effective approach on a moving boat is to freeze motion first and compose second: start your shutter speed at 1/500 to 1/1000 of a second, brace your body against the deck, and switch on image stabilization and burst mode. Everything else, from framing to golden hour timing, builds on that steady foundation.
TL;DR:
- Shutter speed between 1/500 and 1/1000 of a second is essential for freezing motion, with ISO adjusted based on brightness to maintain exposure.
- Brace your body against the deck, support the lens, and switch on image stabilization and burst mode to effectively stabilize handheld shots.
- Golden hour light enhances water reflections and color, so underexpose slightly during this time to preserve highlight detail and improve post-processing options.
- Use a versatile zoom lens, such as 24 to 70mm, combined with a polarizer to reduce glare and deepen water color, and carry quick-access cleaning supplies.
- Small private cruises offer better conditions for photography, providing steady light, fewer crowds, and flexibility to wait for ideal moments.
Table of Contents
- Starter settings: shutter, ISO, aperture, and burst mode for boat tours
- How light and composition change on the water
- Bracing, safety, and keeping your gear dry
- What to pack: lenses, filters, and small accessories
- Shooting recipes for common tour moments
- Quick editing fixes for boat photos
- George’s practical tips for shooting aboard in Halkidiki
- Why small, single-boat charters make better photos
- A photo-friendly way to spend a day on the water
- Sources
- FAQ
Starter settings: shutter, ISO, aperture, and burst mode for boat tours
On a sailing boat, your settings need to do the stabilizing your tripod cannot. Begin with a shutter speed between 1/500 and 1/1000 of a second for anything with movement: wake, wildlife, or another vessel passing close by. Drop to 1/60s or slower only when you want creative motion blur in the water, and brace hard when you do.
- Set aperture around f/5.6 to f/8 for landscapes and shoreline shots, since it keeps most of the frame sharp without starving your shutter speed.
- Raise ISO before you drop shutter speed. On a bright Sithonia afternoon, use a low ISO setting; near sunset, increase ISO as needed to maintain exposure.
- Turn on image stabilization every time you shoot handheld, and switch your drive mode to continuous burst.
- Dial in slight negative exposure compensation, around minus one third to two thirds of a stop, when shooting over bright water to protect highlight detail.
Image stabilization can deliver several stops of handheld advantage depending on the system, though it steadies the camera rather than the subject. That distinction is why a fast shutter still does the heavy lifting when a dolphin surfaces or a sail snaps taut in the wind.
For a deeper breakdown of starter shutter and ISO combinations built specifically for sailing charters, our guide to boat photography settings walks through several real scenarios.
How light and composition change on the water
Golden hour delivers soft, warm light and often calmer wind, which is exactly the combination that turns choppy water into a mirror for the sky. Reflections carry more contrast at this hour, so meter for the sky and let the water follow rather than the reverse.
- Keep the horizon on the upper or lower third of the frame rather than dead center, depending on whether the sky or the water is doing the visual work.
- Leave lead room in front of a moving boat, kayak, or bird so it has somewhere to travel within the frame.
- Simplify cluttered decks by shooting from a low angle against open sky or water instead of against ropes, coolers, and rails.
- Start white balance on Cloudy or push your Kelvin setting higher for warmer tones at sunrise and sunset.
Pro Tip: Shoot a few frames slightly underexposed at golden hour: recovering shadow detail later is easier than rescuing blown highlights off the water.
Bracing, safety, and keeping your gear dry
A moving boat rewards a stable body more than expensive equipment. Widen your stance, bend your knees slightly to absorb the roll, and support the lens barrel with your left hand while your right hand operates the camera. This handheld bracing technique outperforms almost any tripod, since a tripod’s rigid legs transmit every pitch and yaw straight into your frame; save it for calm, anchored moments only.
- Secure yourself first: wedge your hip or thigh against a rail or mast before you even raise the camera.
- Loop your strap around your wrist or neck so a sudden lurch does not send your camera overboard.
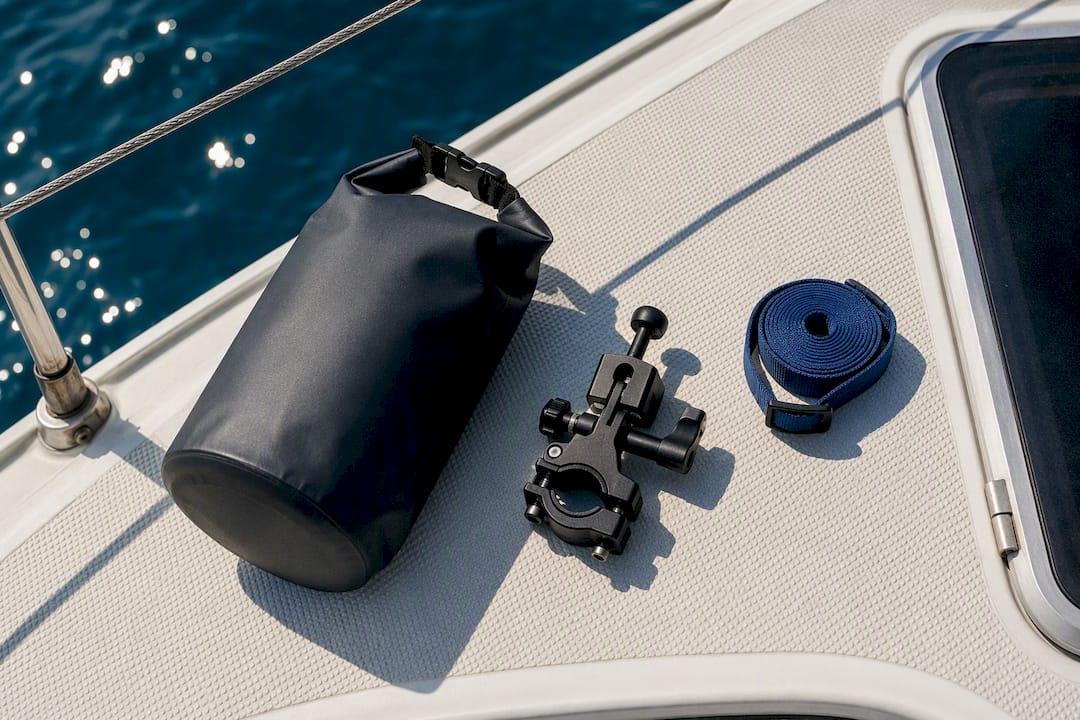
- Keep your camera bag zipped and stowed except when shooting, and use a rain cover or dry bag the moment spray picks up.
- If your gear does get wet, wipe it down immediately and have it inspected promptly rather than waiting for a problem to show up later.
Pro Tip: If a wave catches you off guard, protect your footing before your footing, not your shot. A soaked lens can be dried, a fall cannot always be undone. a soaked lens can be dried, a fall cannot always be undone.
Our rugged gear and mounting checklist covers dry bag sizes and quick-attach options that work well on a sailing deck.
What to pack: lenses, filters, and small accessories
A single versatile zoom beats a bag full of primes on a rocking boat. A 24 to 70mm or 24 to 105mm covers group shots, deck candids, and coastline views, while a 70 to 200mm reaches distant wildlife or another sail on the horizon without forcing you to lean over the rail.
- Favor the wide end for cramped deck scenes and the telephoto end for shoreline cliffs or a passing dolphin pod.
- Pack a polarizer to cut glare off the water and deepen the blue, along with a basic UV filter to protect the front element from salt spray.
- Use a padded wrist strap or cross-body harness rather than trusting a neck strap alone in wind.
- Carry a small silica-gel pouch and microfiber cloth in your dry bag for quick lens cleaning between shots.
Lens guidance and glare-cutting techniques get more detail in the sailing photography gear checklist.
Shooting recipes for common tour moments
Different moments call for different reflexes. Here are quick recipes worth memorizing before you board.
- Portraits on deck: shoot at f/2.8 to f/4 to blur cluttered backgrounds, and position subjects against open water or sky rather than rigging.
- Action and wake shots: hold shutter speed at 1/500s or faster to freeze spray, or drop to around 1/60s and pan with a passing boat for a motion-streaked background.
- Reflections and landscapes: wait for a lull in the wind, rotate your polarizer to find the point of maximum saturation, and place the horizon along the upper third if the water is glassy.
- Sunrise and sunset: raise ISO gradually rather than slowing shutter speed too far, bracket two or three exposures per scene, and underexpose slightly to render subjects as clean silhouettes against the color.
Each recipe assumes the same starting point: fast enough shutter, stabilized stance, burst mode ready to fire.
Quick editing fixes for boat photos
Most boat shots need the same short list of corrections. Start with exposure and highlight recovery, since bright water tends to blow out faster than you expect on the small camera screen.
- Pull highlights down and lift shadows slightly before touching contrast, to keep the scene believable.
- Apply dehaze and selective clarity to the water only, which restores texture without the halo look that global sharpening creates.
- Sharpen softly focused frames with a moderate radius, and apply noise reduction separately to any high ISO shots from low light conditions.
- Use spot heal or clone tools to remove a stray rope, life jacket, or cooler that sneaks into an otherwise clean frame.
George’s practical tips for shooting aboard in Halkidiki
On calm midday sails I usually start around 1/800s at f/6.3, adjusting ISO as clouds pass. Closer to sunset, I drop to 1/500s and let ISO climb rather than risk blur on the boat’s motion. Standing just forward of the cockpit, braced against the coaming, usually gives the cleanest angle on both the sail and the horizon, and a good crew will hold a steady heading for a few seconds when they see you framing a shot.
- Our 10 point sailing photography checklist is worth printing before you board.
- Mornings near Neos Marmaras and Nikiti tend to offer calmer water for beginners still finding their stance.
- Paliouri and Kassandra can add more chop, which makes them good practice ground once your bracing technique is solid.
- The starter settings guide pairs well with this checklist for first-timers.
Why small, single-boat charters make better photos
Smaller charters give you room to move, time to reset a shot, and a crew who already knows where the light will fall. One late afternoon off Sithonia, a short pause from the skipper turned a rushed silhouette into the sharpest frame of the trip. Try the checklist on your next sail and see what changes.
— George
A photo-friendly way to spend a day on the water
Chasing good light usually means fighting a crowded schedule or a boat full of strangers, which rarely leaves room to wait for the right moment. Private sailing cruises are often built around one boat and one group, so a short pause for a shot never disrupts anyone else’s plans.
- The Full Day Private Cruise covers a full range of light, from harsh midday sun to the early gold of late afternoon.
- The Sunset Private Cruise is timed around golden hour itself, ideal for the reflection and silhouette recipes above.
- A dedicated skipper and crew can hold a heading steady or suggest a quieter cove when the light calls for it.
Check availability for either cruise and build your next shoot around a boat that works with your camera instead of against it.
Sources
Shutter and stabilization guidance from Discover Boating, golden hour and white balance notes from Nikon USA, and gear protection tips from NYIP informed the settings and safety advice above. Planning guidance on timing golden hour shoots also draws on practical itinerary tips from Iceland Direct Tours.
FAQ
What is the “20/60/20 rule” in photography?
Definitions vary by source, and no single authoritative version applies specifically to boat photography. A common general use of the phrase refers to allocating shooting time or attention across setup, capture, and review, but treat it as a loose guideline rather than a fixed rule for tour shooting.
What are 7 basic tips for taking good photographs?
For boat tours specifically, the fundamentals are a fast shutter speed, a braced stance, active image stabilization, burst mode, simplified framing, shooting during golden hour, and protecting your gear from spray. Applying these together, rather than any single tip alone, produces the most consistent results on a moving deck.
What does the 80/20 rule mean in photography?
There is no fixed definition tied specifically to boat or travel photography, and the phrase is used differently across general photography guides. Rather than relying on a numeric rule, prioritize the fundamentals covered above: shutter speed, stabilization, and clean composition.
What are the 7 rules of photography?
No single official list exists, but for boat tours the practical priorities are fast shutter speeds, a stable stance, burst shooting, simplified backgrounds, good light timing, gear protection, and safety first. Following these in combination matters more than treating any one as a strict rule.
How do I protect my camera from water spray on a boat?
Keep your camera bag closed when not shooting, use a rain cover or dry bag in active spray, and wipe down any wet gear immediately rather than letting moisture sit. A UV filter on your lens adds a cheap extra layer of protection against salt residue.